Subsquid Testnet: Run your first indexer in 10 minutes or less

This article is an intro to squid deployment for incentivized testnet participants. You can learn more about the testnet and its rules on the official CoinList page. Stay safe, check all links, and beware imposter sites!
Introduction: Getting started
Running a squid isn't just a fun way to explore web3 and support your favorite dApps, but will also give you the opportunity to earn points. Let's get started:
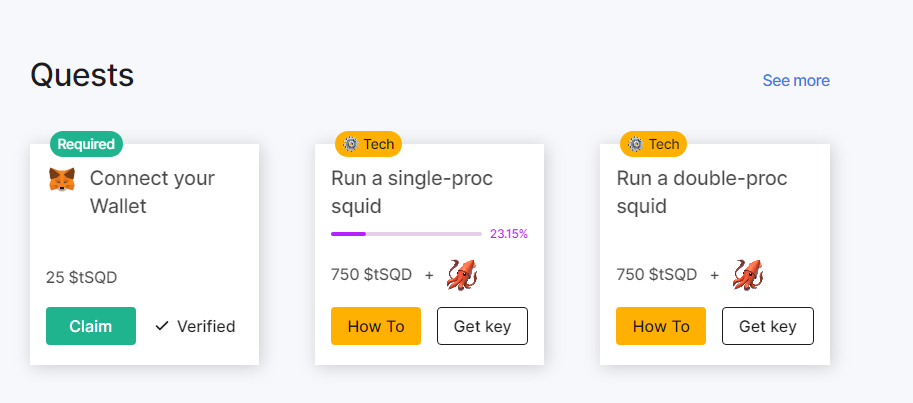
Once you sign in to the Subsquid app, you'll see your spot on the leaderboard and the quests that are available.
The more quests completed, the higher your count of tSQD, and, consequently potential rewards once the Subsquid mainnet goes live. 👀 You can find all the details on the incentivized testnet also here.
However, it might seem quite intimidating at first, especially for less tech-savvy users. Fortunately, the Subsquid team has put together a comprehensive web app that guides users through the process so that even people like me, who are not engineers, can run their own squid in less than 10 minutes.
The process consists of 2 parts. In the first you'll just connect your Metamask wallet. In the second, we'll go ahead and deploy the actual squid. This guide is for Windows users. You can find an outline for Mac Users here.
What you need:
- Go to app.subsquid.io and create an account. Alternatively, you can sign in with your Google or your GitHub account.

- Go through the onboarding process, and you'll see the screen below. On the top right, next to your account icon, click on "switch to network."

- Congrats you've successfully completed the first quest. Time to move on to getting our squid running! 🥳
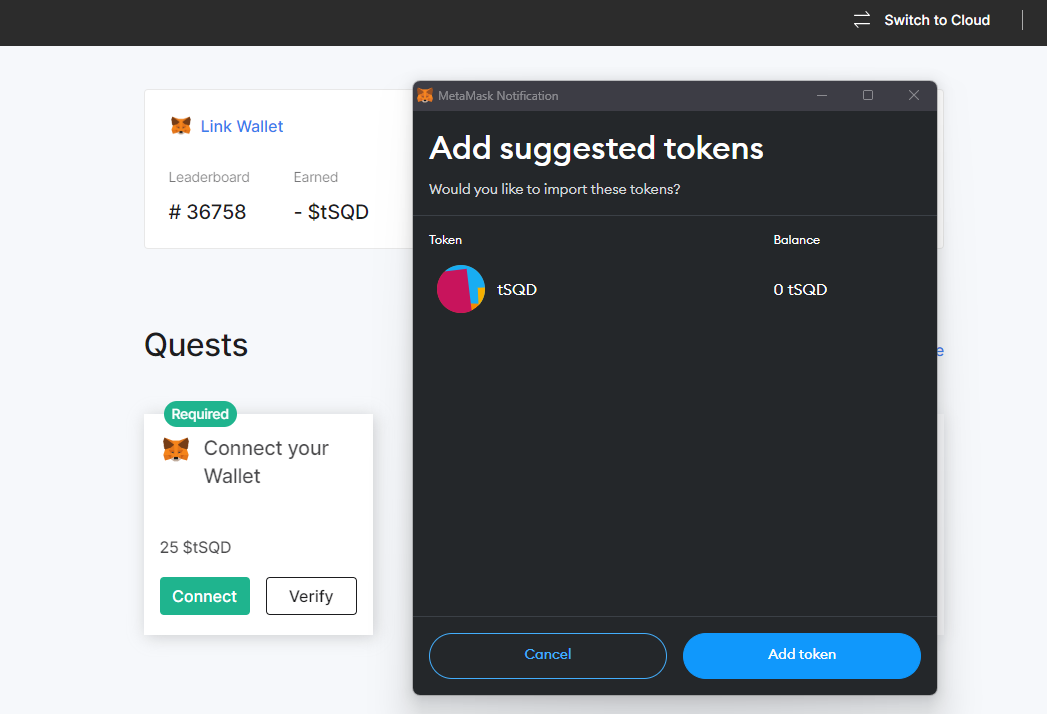
- Allow Meta Mask to add a new network and to switch to Arbitrum Goerli. Then you're prompted to import the tSQD token. Click add, and you'll be able to verify your tSQD balance in your Meta Mask later on.
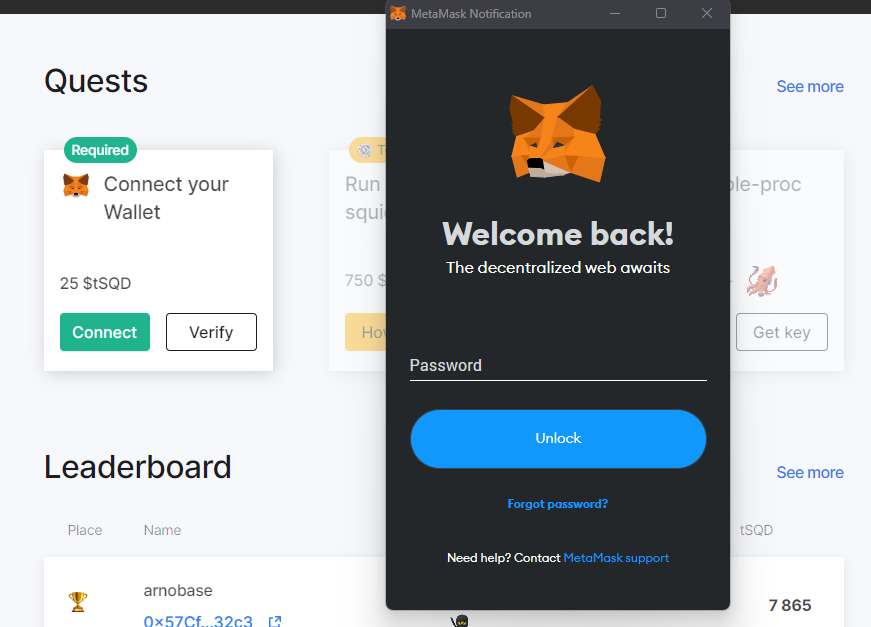
- You'll now see a dashboard view with quests to complete. The more quests completed, the higher your spot on the leaderboard. The first step is to connect one's wallet. Click on the Connect Wallet quest, and connect with your Meta Mask.
Deploy your squid
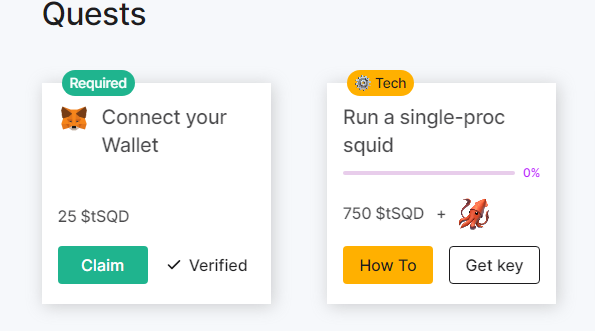
On the dashboard, you'll now see your wallet verified and the quests next to it unlocked. We'll complete the single-proc squid task. If you already have Hyper-V, Dockers, Git and Node JS set up on your machine, you can skip ahead to Installing your Squid.
Preparing your PC
There are a few things you have to install and set up before you can handle the squid. The first one is Hyper-V.
Hyper-V
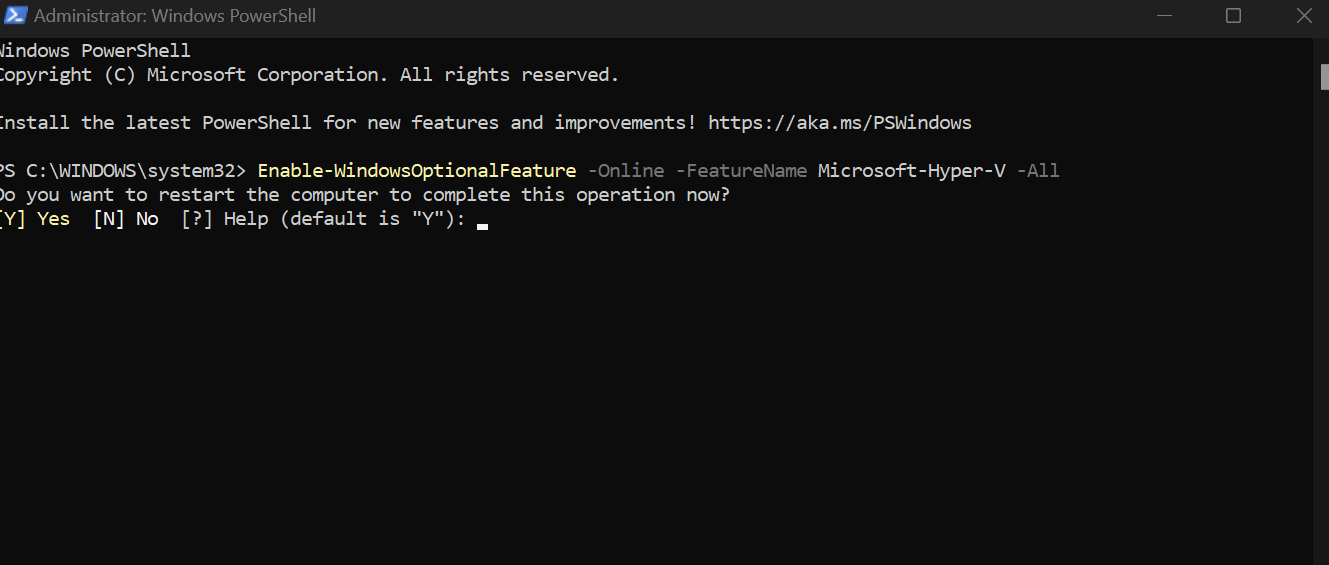
- In your Windows search, look for power shell and pick "open as admin".
- Run this command:
- Restart to complete
Docker
Git & NodeJS
If you ever used JavaScript before and committed changes, chances are you have both of these installed already. If not, use the below links to get set up
Installing your squid
Note: I created a folder called squid on my desktop and ran all of the commands in there to ensure I could easily find it again. One easy way to do this is to open the folder with Visual Studio Code and then run the terminal from there. Alternatively, you can open the terminal on your Windows directly and then use cd to access the created folder. Simply copy its path.
- Open the terminal and run:
- To check if the installation worked, run the following:
The response should look like: @subsquid/cli/2.6.1 win32-x64 node-v18.18.1
Running your squid
- In the terminal, run the following command to create squid and enter its folders.
This will create an output looking something like this:

- You can change the name of the my-single-proc-squid to a chosen name. Simply find the folder on your PC and rename it.
- In the terminal use the below command to access your squid folder. Since I named mine otto, to access I used: cd otto
- Go to the Subsquid dashboard, and click the "get key" button inside of the quest.
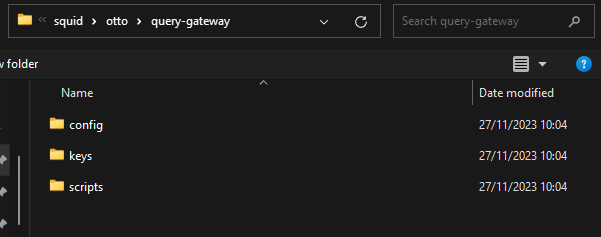
Save the file inside of the ./query-gateway/keys subfolder inside of your squid folder.
- Now we'll start the docker containers to run our squid using:
And you'll hopefully see some green bars.

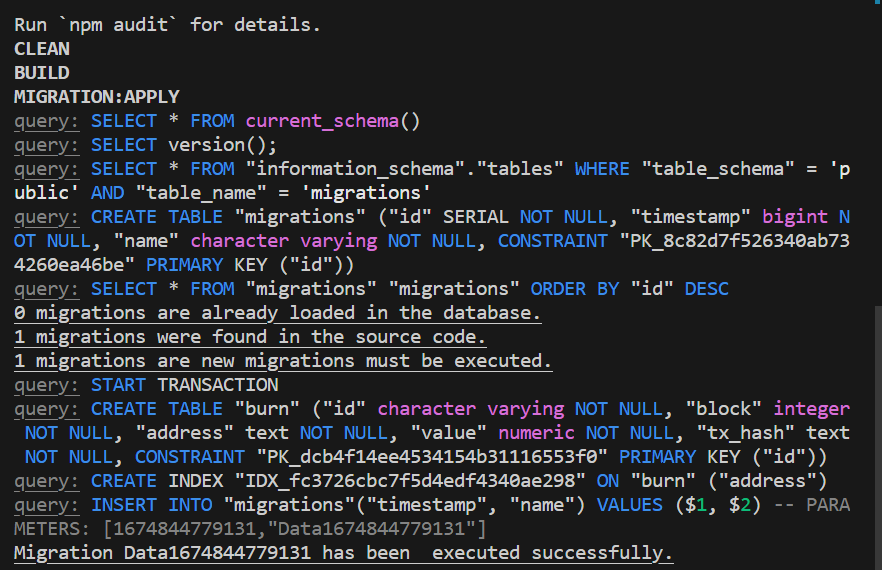
- Now we'll prepare the squid and build the source code as well as create all the tables that the data will later be stored in with the following commands:
It'll look something like this.
- In the final step, we'll start the squid
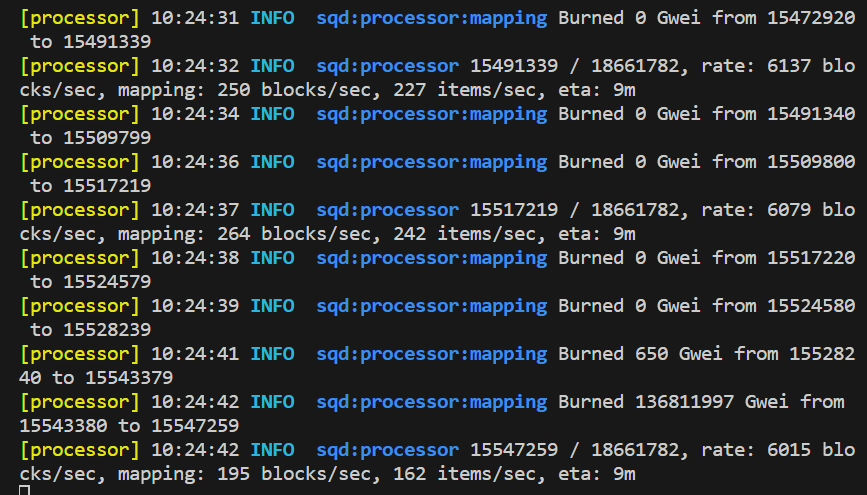
Time to wait. There is a lot of data to index on this first run, so it might take 10 - 15 minutes until you get all of the data. This squid keeps track of all of the USDC transfers on Ethereum. It stores the data in an easily accessible manner and makes it available for devs via GraphQL API.
The responses you receive will look like this:
Congrats. You did it. You got a squid up and running, indexing all the USDC transfers on Ethereum. You can see the progress of your squid also on the dashboard inside of the subsquid app interface.
Lastly, when you're done, shut down your squid using Ctlr-C and then run the down command to remove the containers.
This last step is very important. You don't want to waste resources by keeping your indexer up and running! Your points will be added in the dashboard automagically.
Subsquid Website | Documentation | GitHub | Twitter | Developer Chat